Setup
Data
Data for this lesson is from the Portal Project Teaching Database. Please download all the files as a zip which will give you everything in a single compressed file. You’ll need to unzip this file after downloading it.
Installing Python using Anaconda
Python is a popular language for scientific computing, and great for general-purpose programming as well. Installing all of the scientific packages we use in the lesson individually can be a bit cumbersome, and therefore recommend the all-in-one installer Anaconda.
Regardless of how you choose to install it, please make sure you install Python version 3.x (e.g., 3.10 is fine and will continue to receive security patches unitl 2026-OCT-04).
Installing Anaconda
Windows
-
Open https://www.anaconda.com/products/individual in your web browser.
-
Download the Anaconda Python 3 installer for Windows.
-
Double-click the executable and install Python 3 using the recommended settings. Make sure that Register Anaconda as my default Python 3.x option is checked – it should be in the latest version of Anaconda.
-
Verify the installation: click Start, search and select
Anaconda Promptfrom the menu. A window should pop up where you can now type commands such as checking your Conda installation with:
conda --help
MacOS
-
Visit https://www.anaconda.com/products/individual in your web browser.
-
Download the Anaconda Python 3 installer for macOS. These instructions assume that you use the graphical installer
.pkgfile. -
Follow the Anaconda Python 3 installation instructions. Make sure that the install location is set to “Install only for me” so Anaconda will install its files locally, relative to your home directory. Installing the software for all users tends to create problems in the long run and should be avoided.
-
Verify the installation: click the Launchpad icon in the Dock, type Terminal in the search field, then click Terminal. A window should pop up where you can now type commands such as checking your conda installation with:
conda --help
Linux
Note that the following installation steps require you to work from the terminal (shell). If you run into any difficulties, please request help before the workshop begins.
-
Open https://www.anaconda.com/products/individual in your web browser.
-
Download the Anaconda Python 3 installer for Linux.
-
Install Anaconda using all of the defaults for installation.
- Open a terminal window.
- Navigate to the folder where you downloaded the installer.
- Type
bash Anaconda3-and press Tab. The name of the file you just downloaded should appear. - Press Return
- Follow the text-only prompts. When the license agreement appears (a colon will be present at the bottom of the screen) press Spacebar until you see the bottom of the text. Type
yesand press Return to approve the license. Press Return again to approve the default location for the files. Typeyesand press Return to prepend Anaconda to yourPATH(this makes the Anaconda distribution your user’s default Python).
- Verify the installation: this depends a bit on your Linux distribution, but often you will have an Applications listing in which you can select a Terminal icon you can click. A window should pop up where you can now type commands such as checking your conda installation with:
conda --help
Required Python Packages
The following are packages needed for this workshop:
All packages will have automatically been installed with Anaconda.
Required packages: Miniconda
Miniconda is a lightweight version of Anaconda. If you install Miniconda instead of Anaconda, you need to install required packages manually in the following way:
conda install -y numpy pandas matplotlib jupyter
Launch a Jupyter notebook
After installing either Anaconda or Miniconda and the workshop packages, launch a Jupyter notebook by typing this command into the terminal or anaconda-prompt:
jupyter notebook
The notebook should open automatically in your browser. If it does not or you wish to use a different browser, open this link: http://localhost:8888.
Leaving the terminal used to launch Jupyter open
Jupyter depends on a server running in the background associated with the window used to launch it. Closing that window will results in web interface errors in the web interface. When done, you can either close the terminal or shut down the server using CTRL+C and submitting y within 5 seconds if the terminal is needed for other tasks.
How the Jupyter notebook works
After typing the command jupyter notebook, the following happens:
-
A Jupyter Notebook server is automatically created on your local machine.
-
The Jupyter Notebook server runs locally on your machine only and does not use an internet connection.
-
The Jupyter Notebook server opens the Jupyter notebook client, also known as the notebook user interface, in your default web browser.
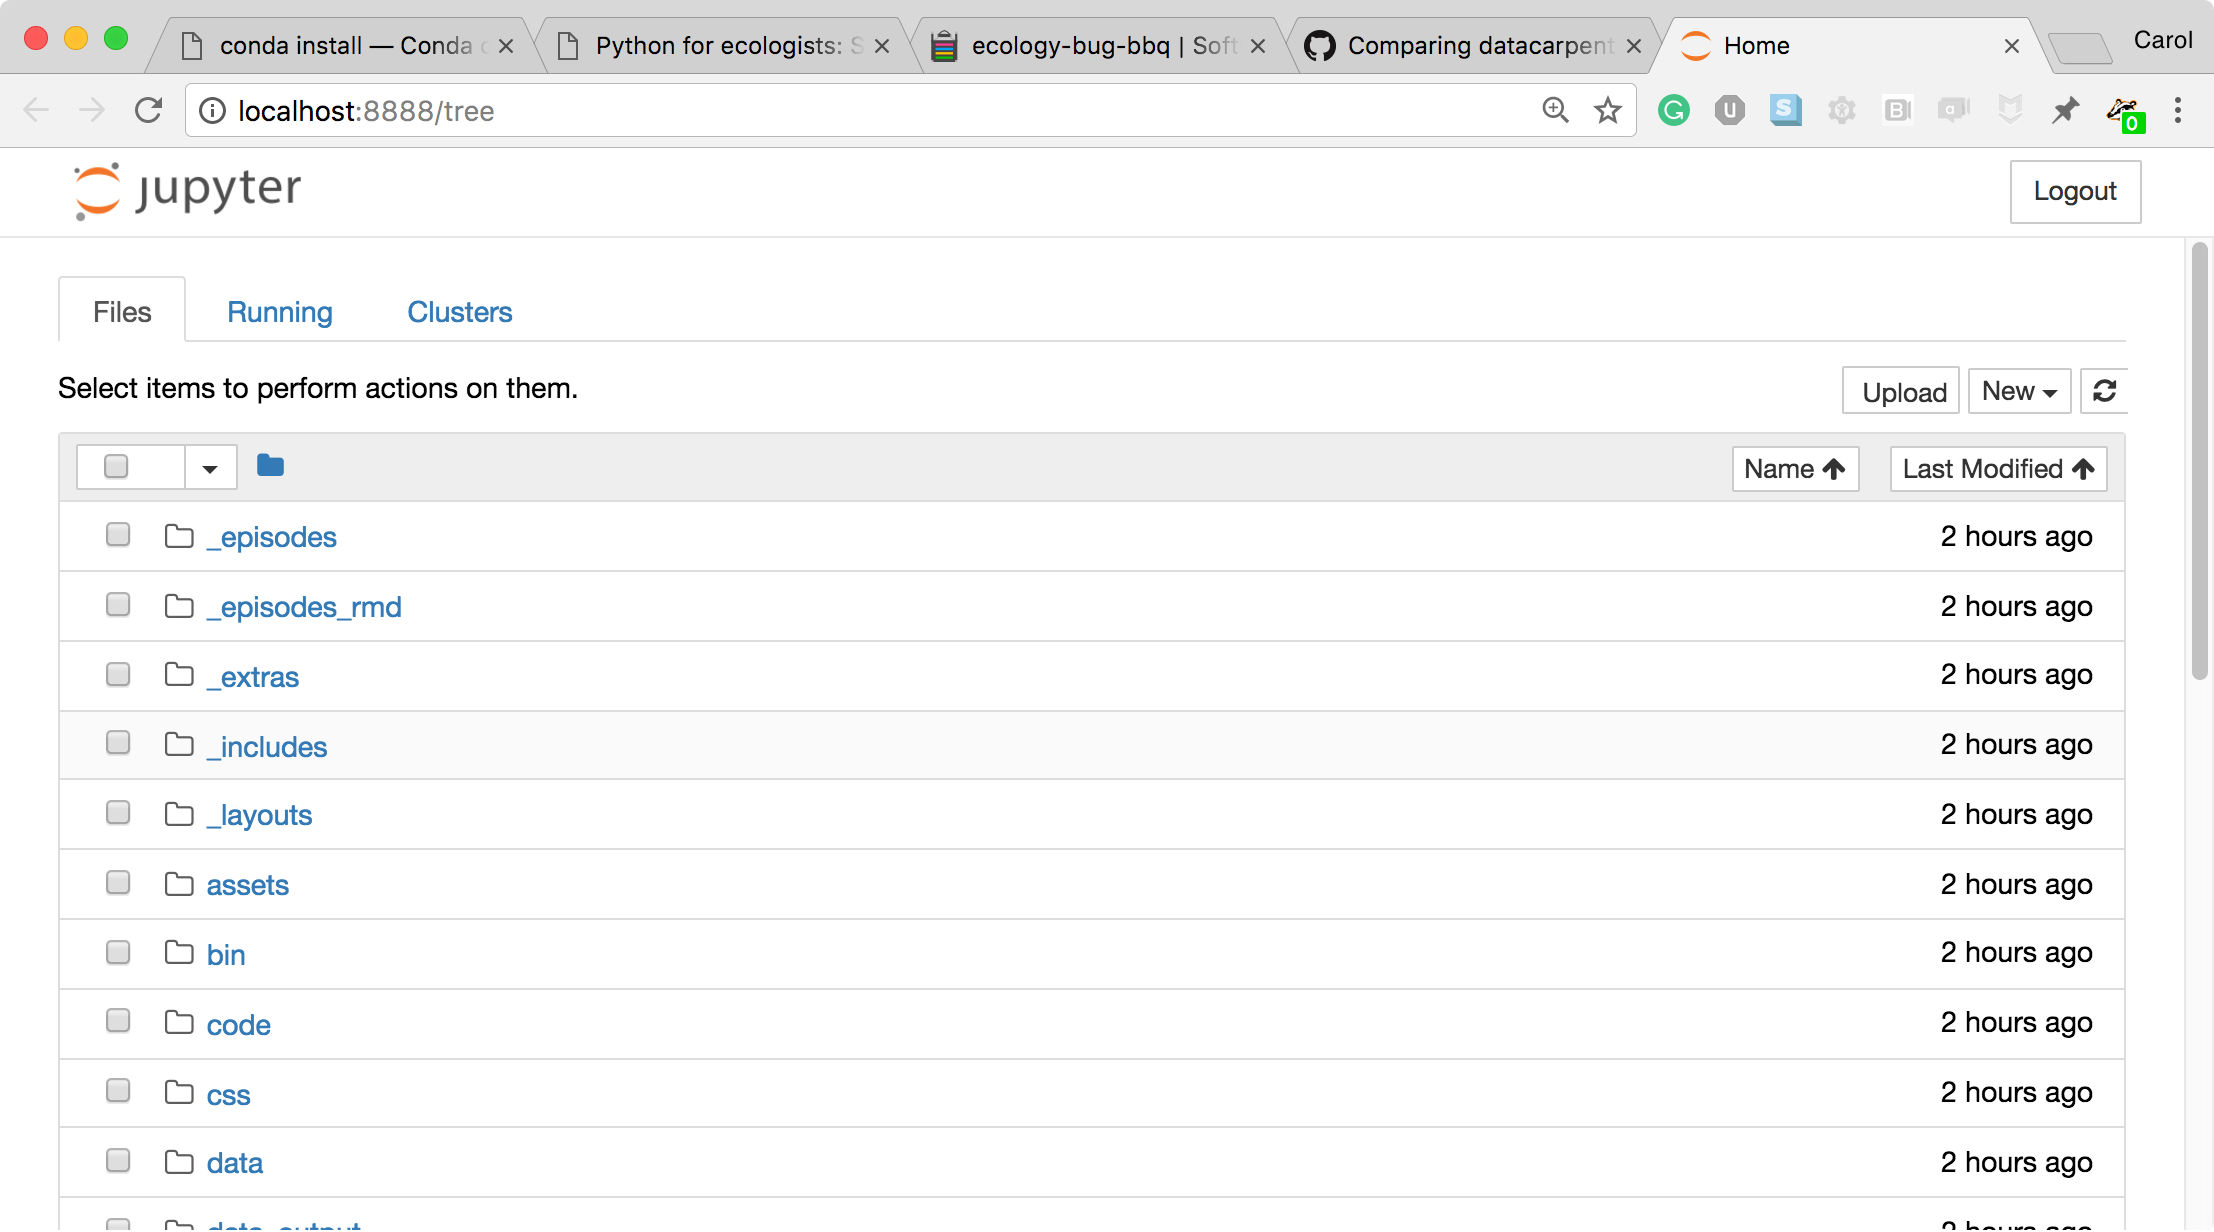 The Jupyter notebook file browser
 -
To create a new Python notebook select “Python 3” from the “New” dropdown on the upper right of the screen.
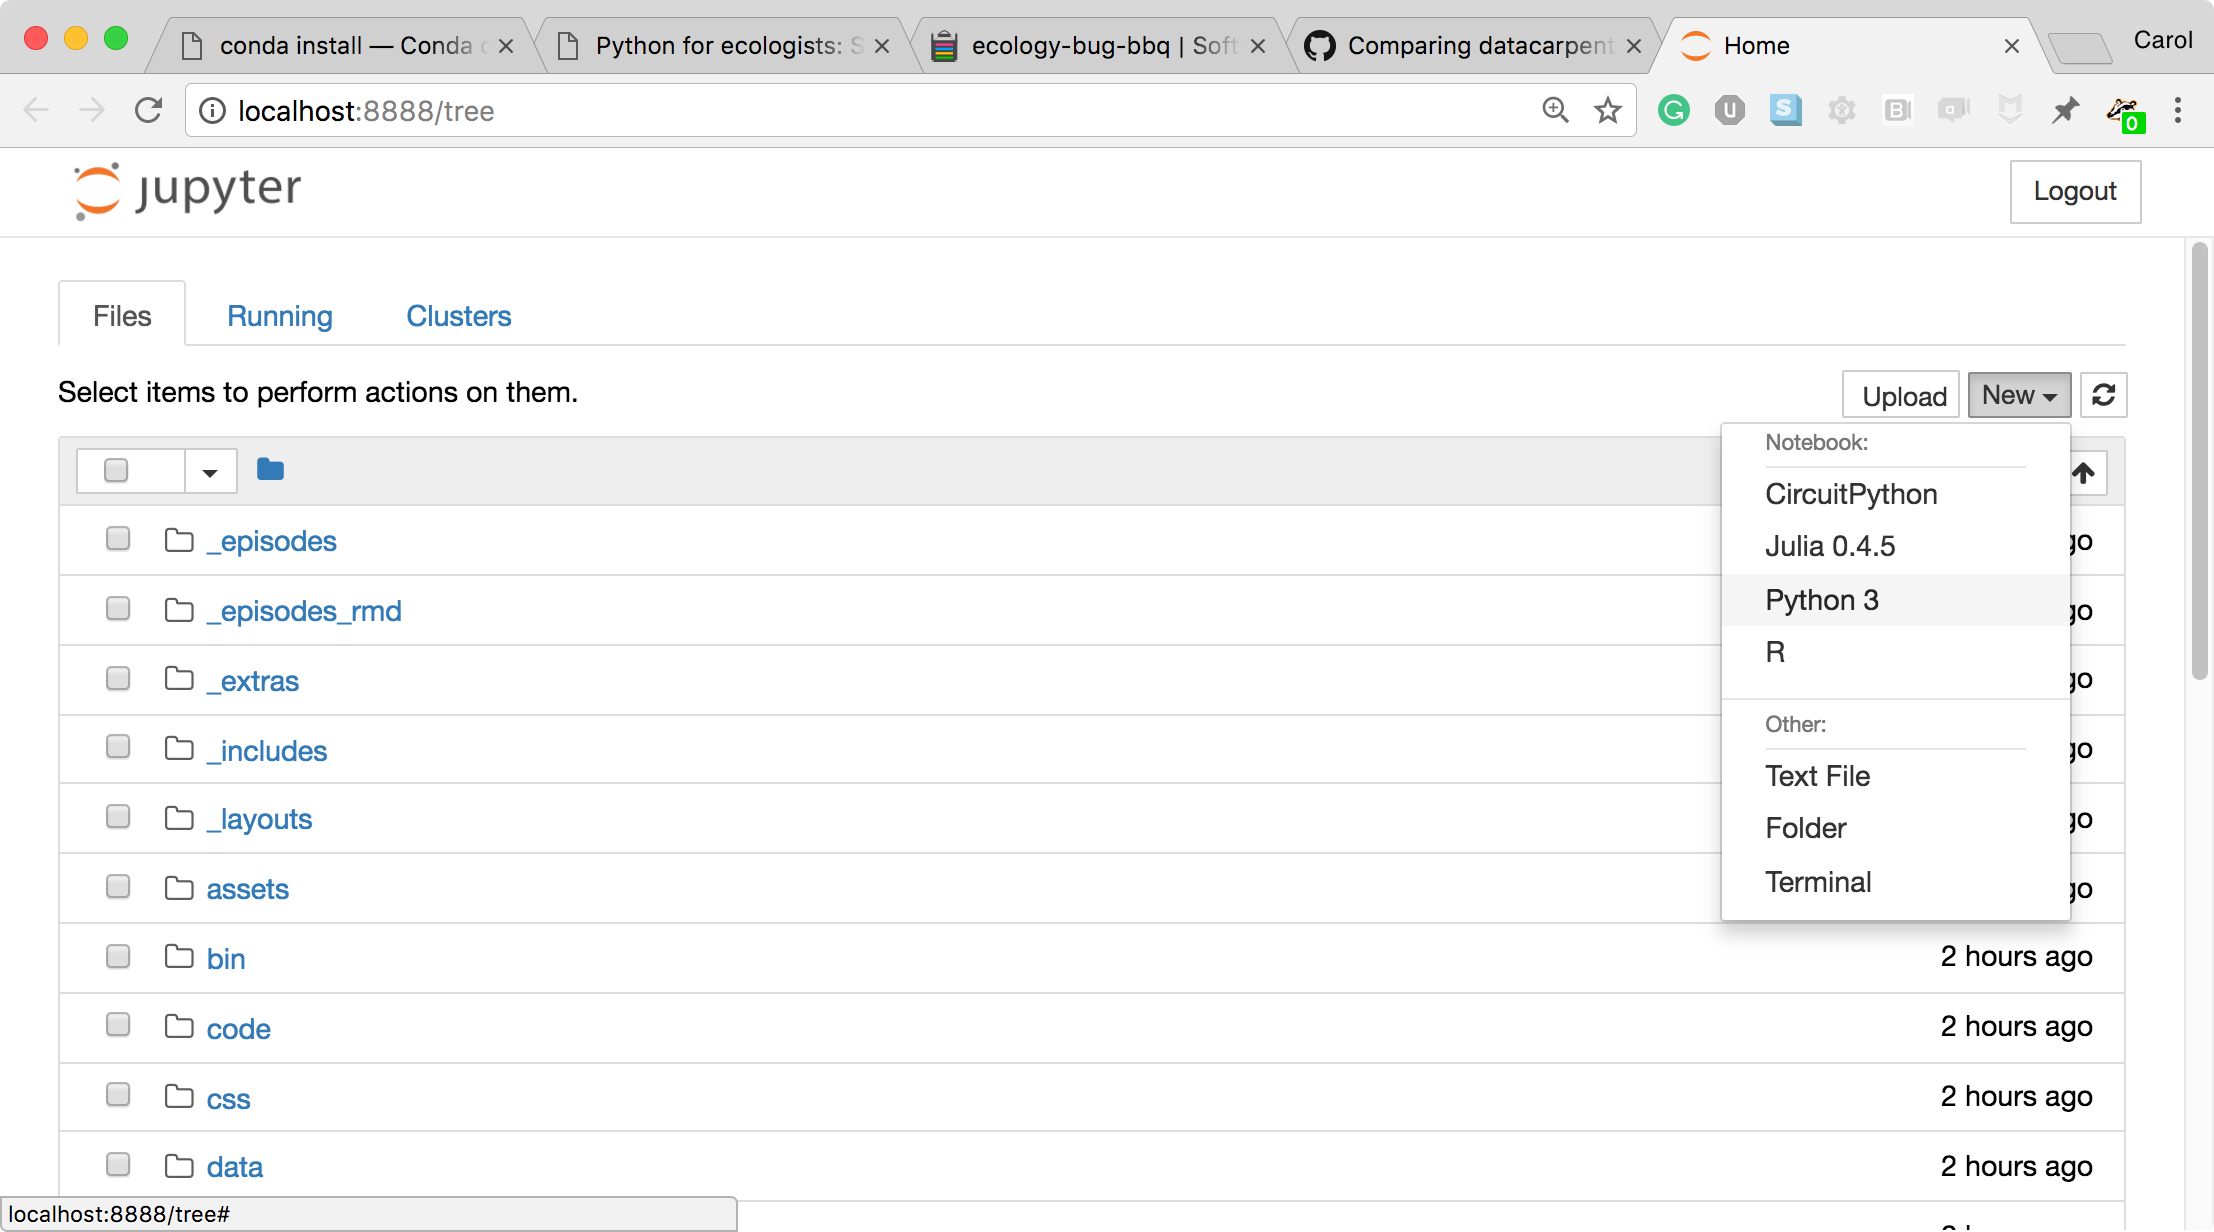 The Jupyter notebook file browser
 -
When you can create a new notebook and type code into the browser, the web browser and the Jupyter notebook server communicate with each other.
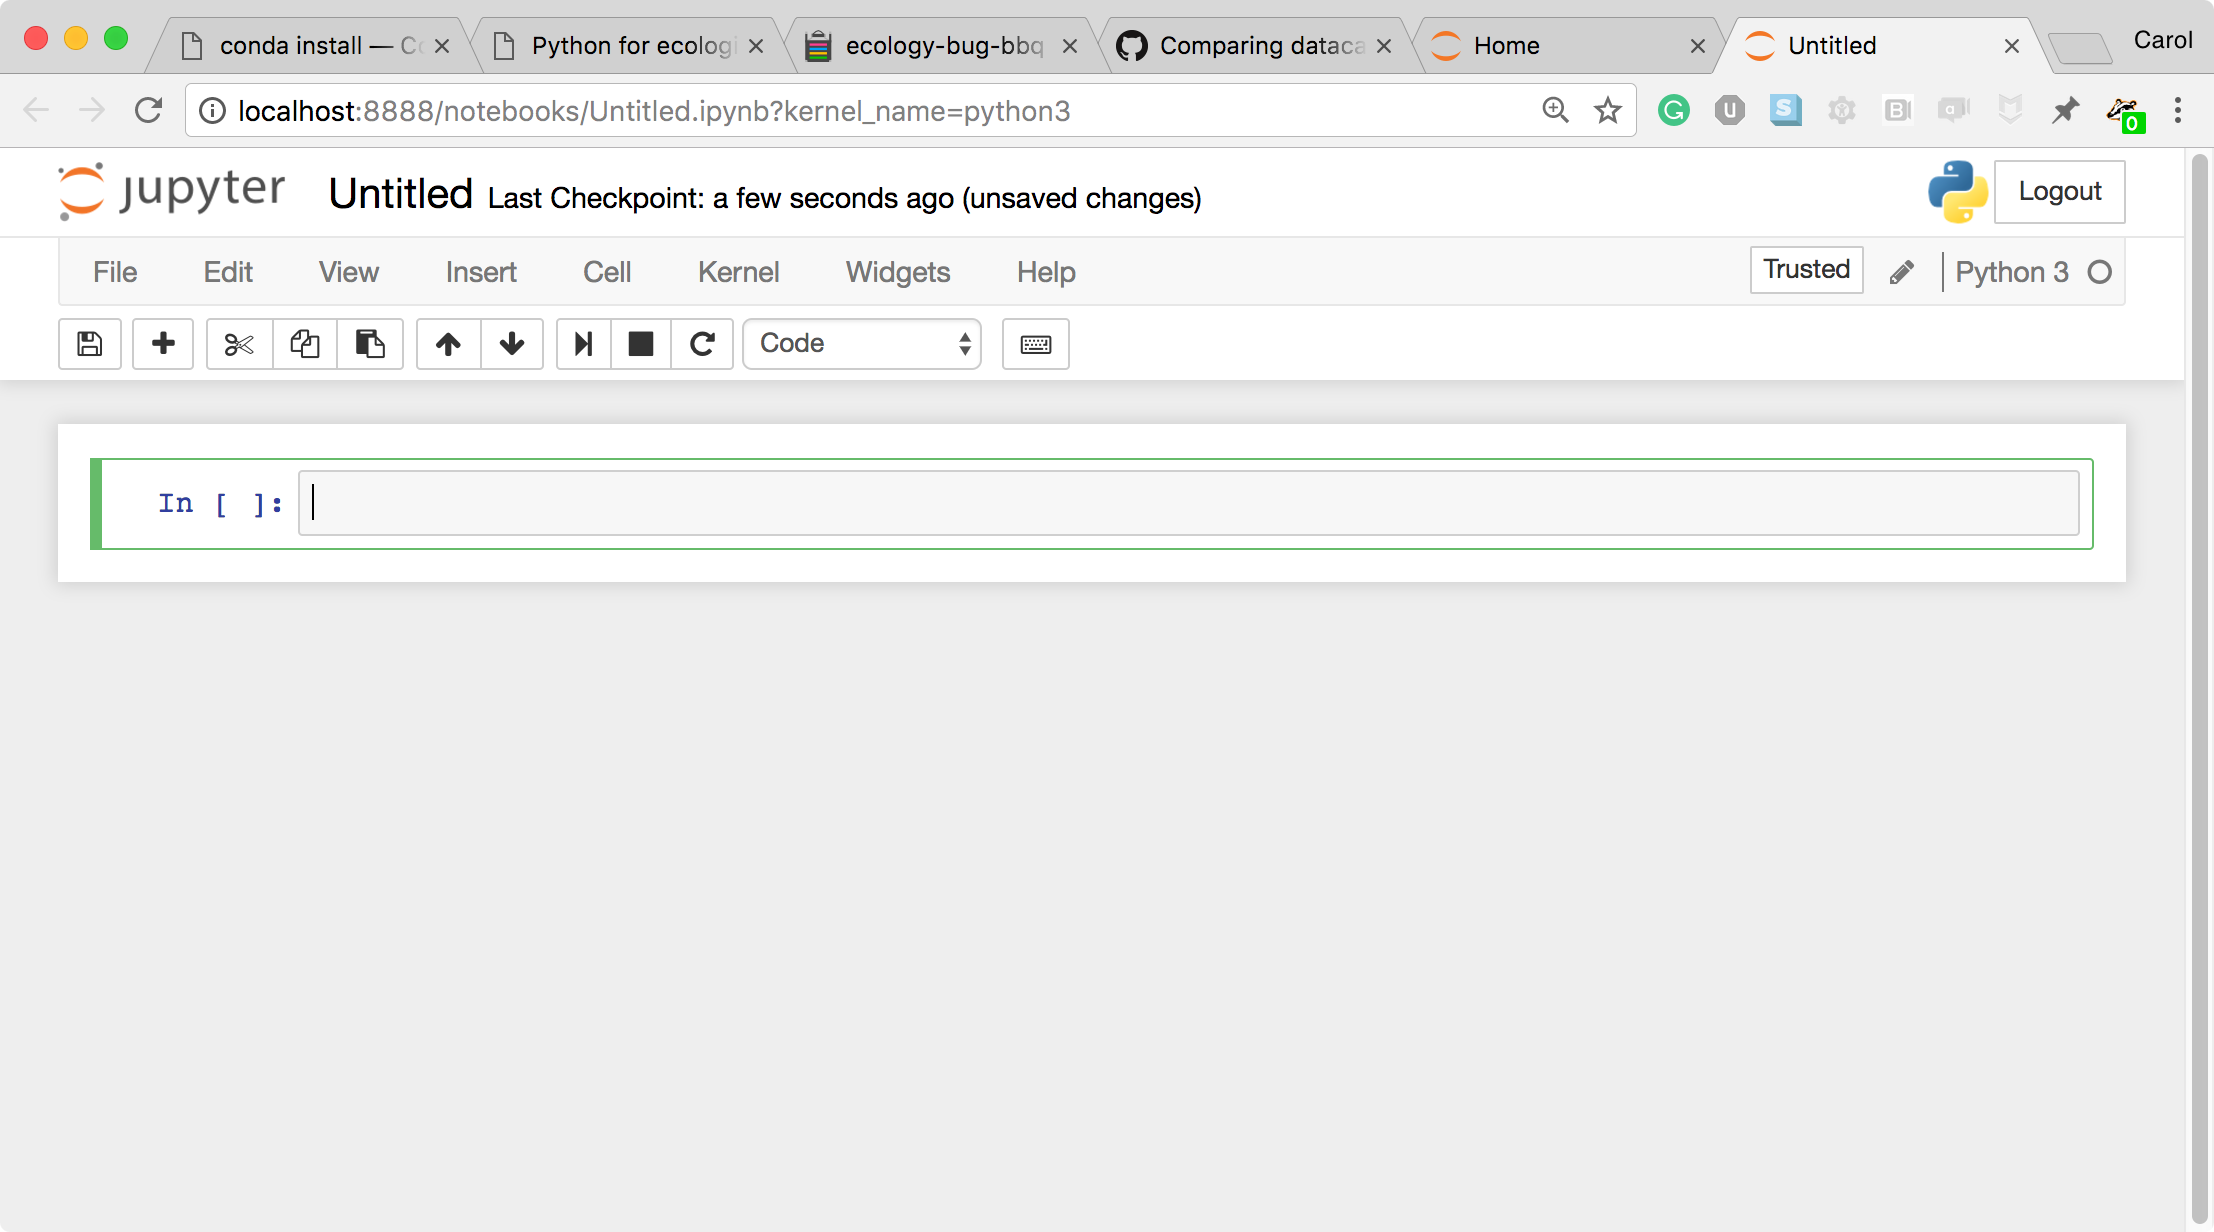 A new, blank Jupyter notebook
 -
Under the “help” menu, take a quick interactive tour of how to use the notebook. Help on Jupyter and key workshop packages is available here too.
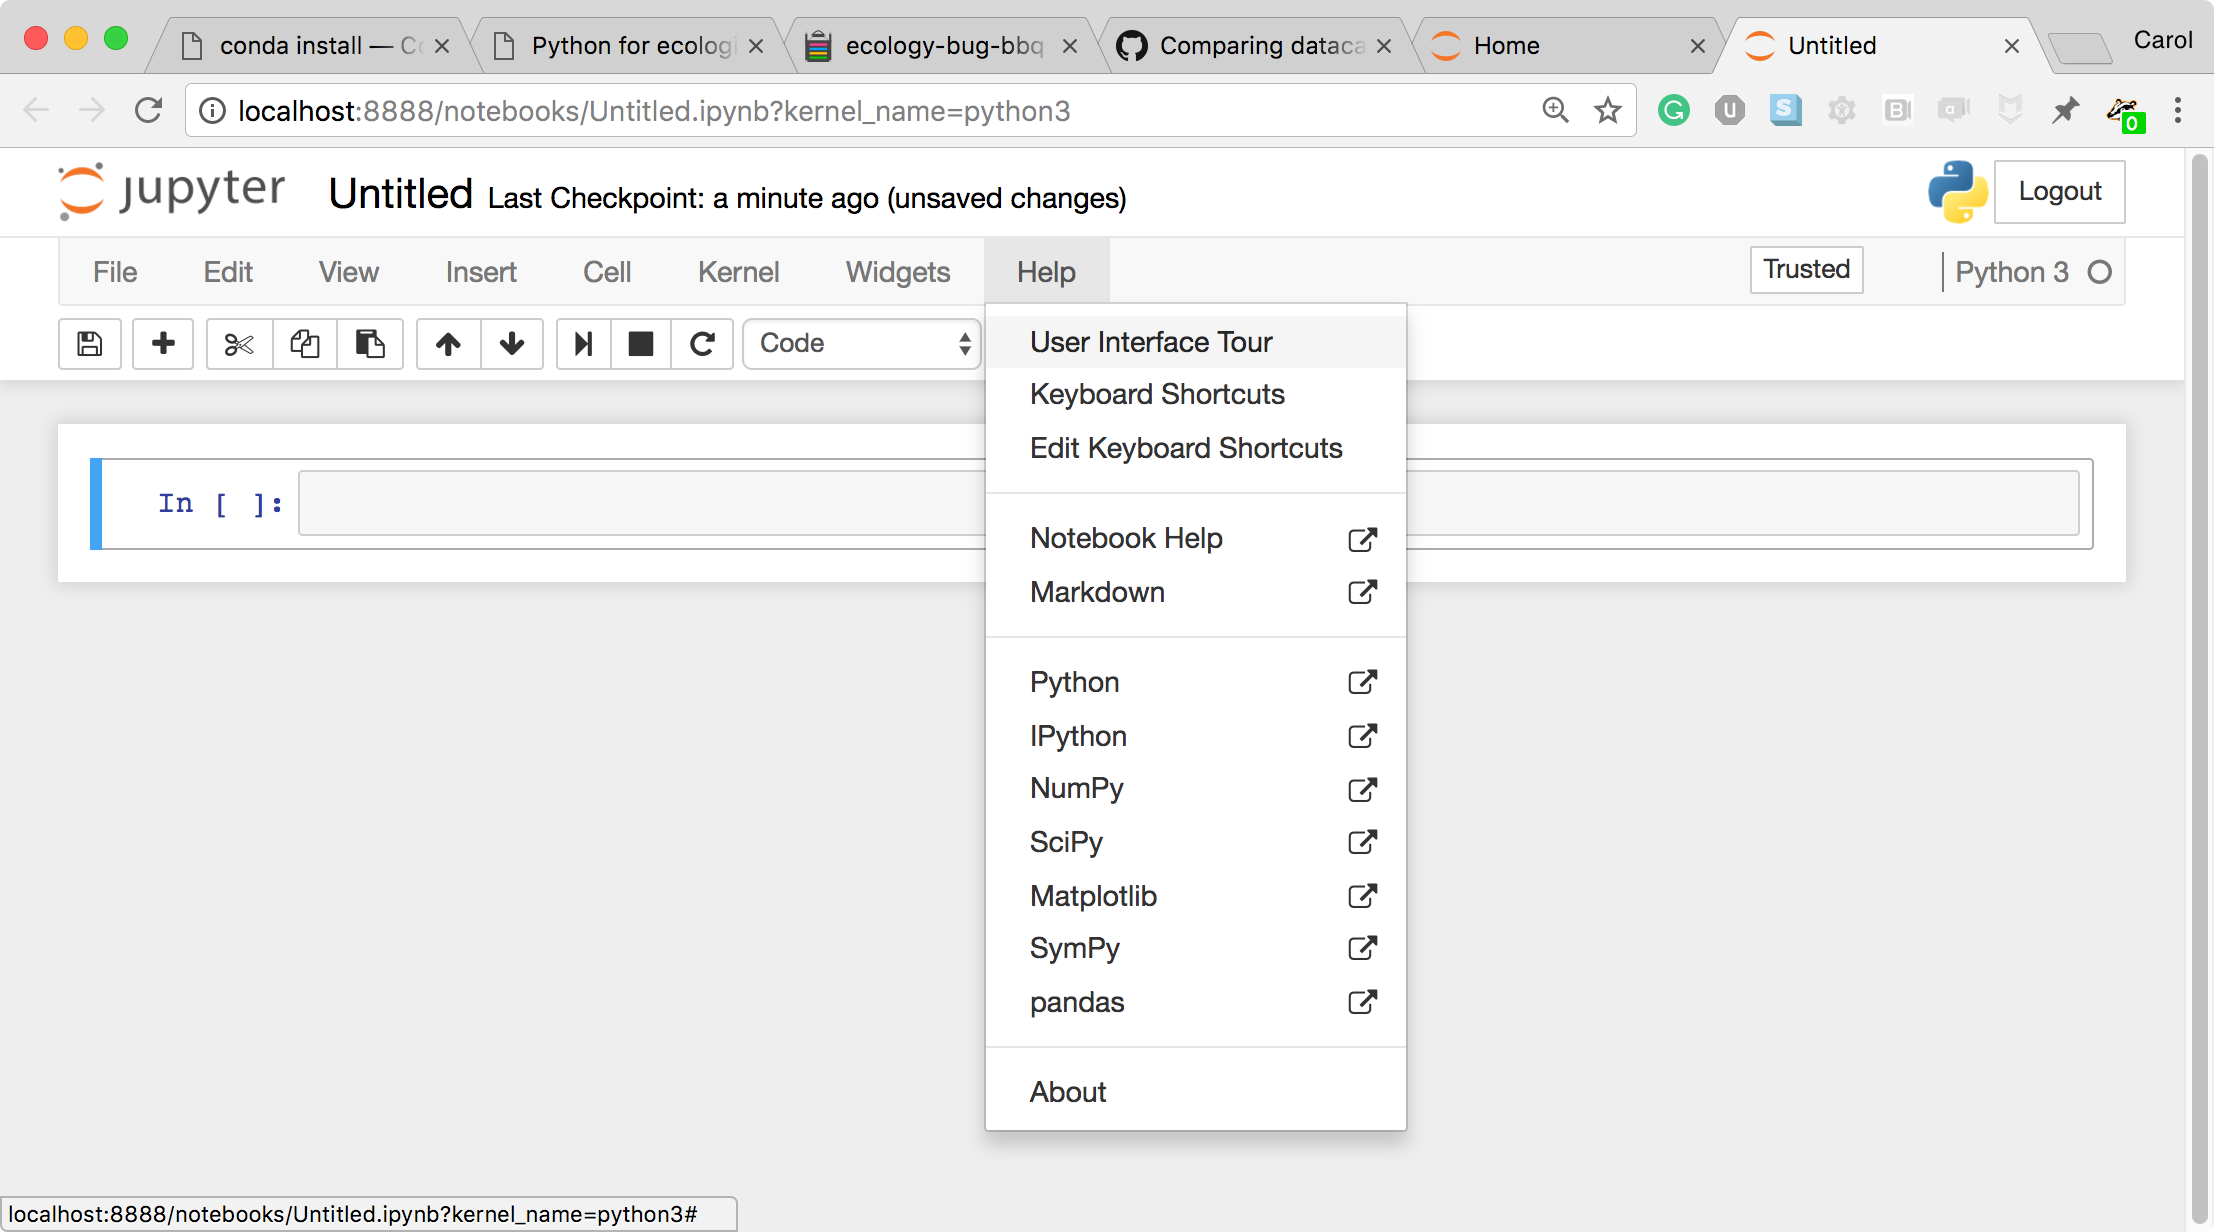 User interface tour and Help
 -
The Jupyter Notebook server does the work and calculations, and the web browser renders the notebook.
-
The web browser then displays the updated notebook to you.
-
For example, click in the first cell and type some Python code.
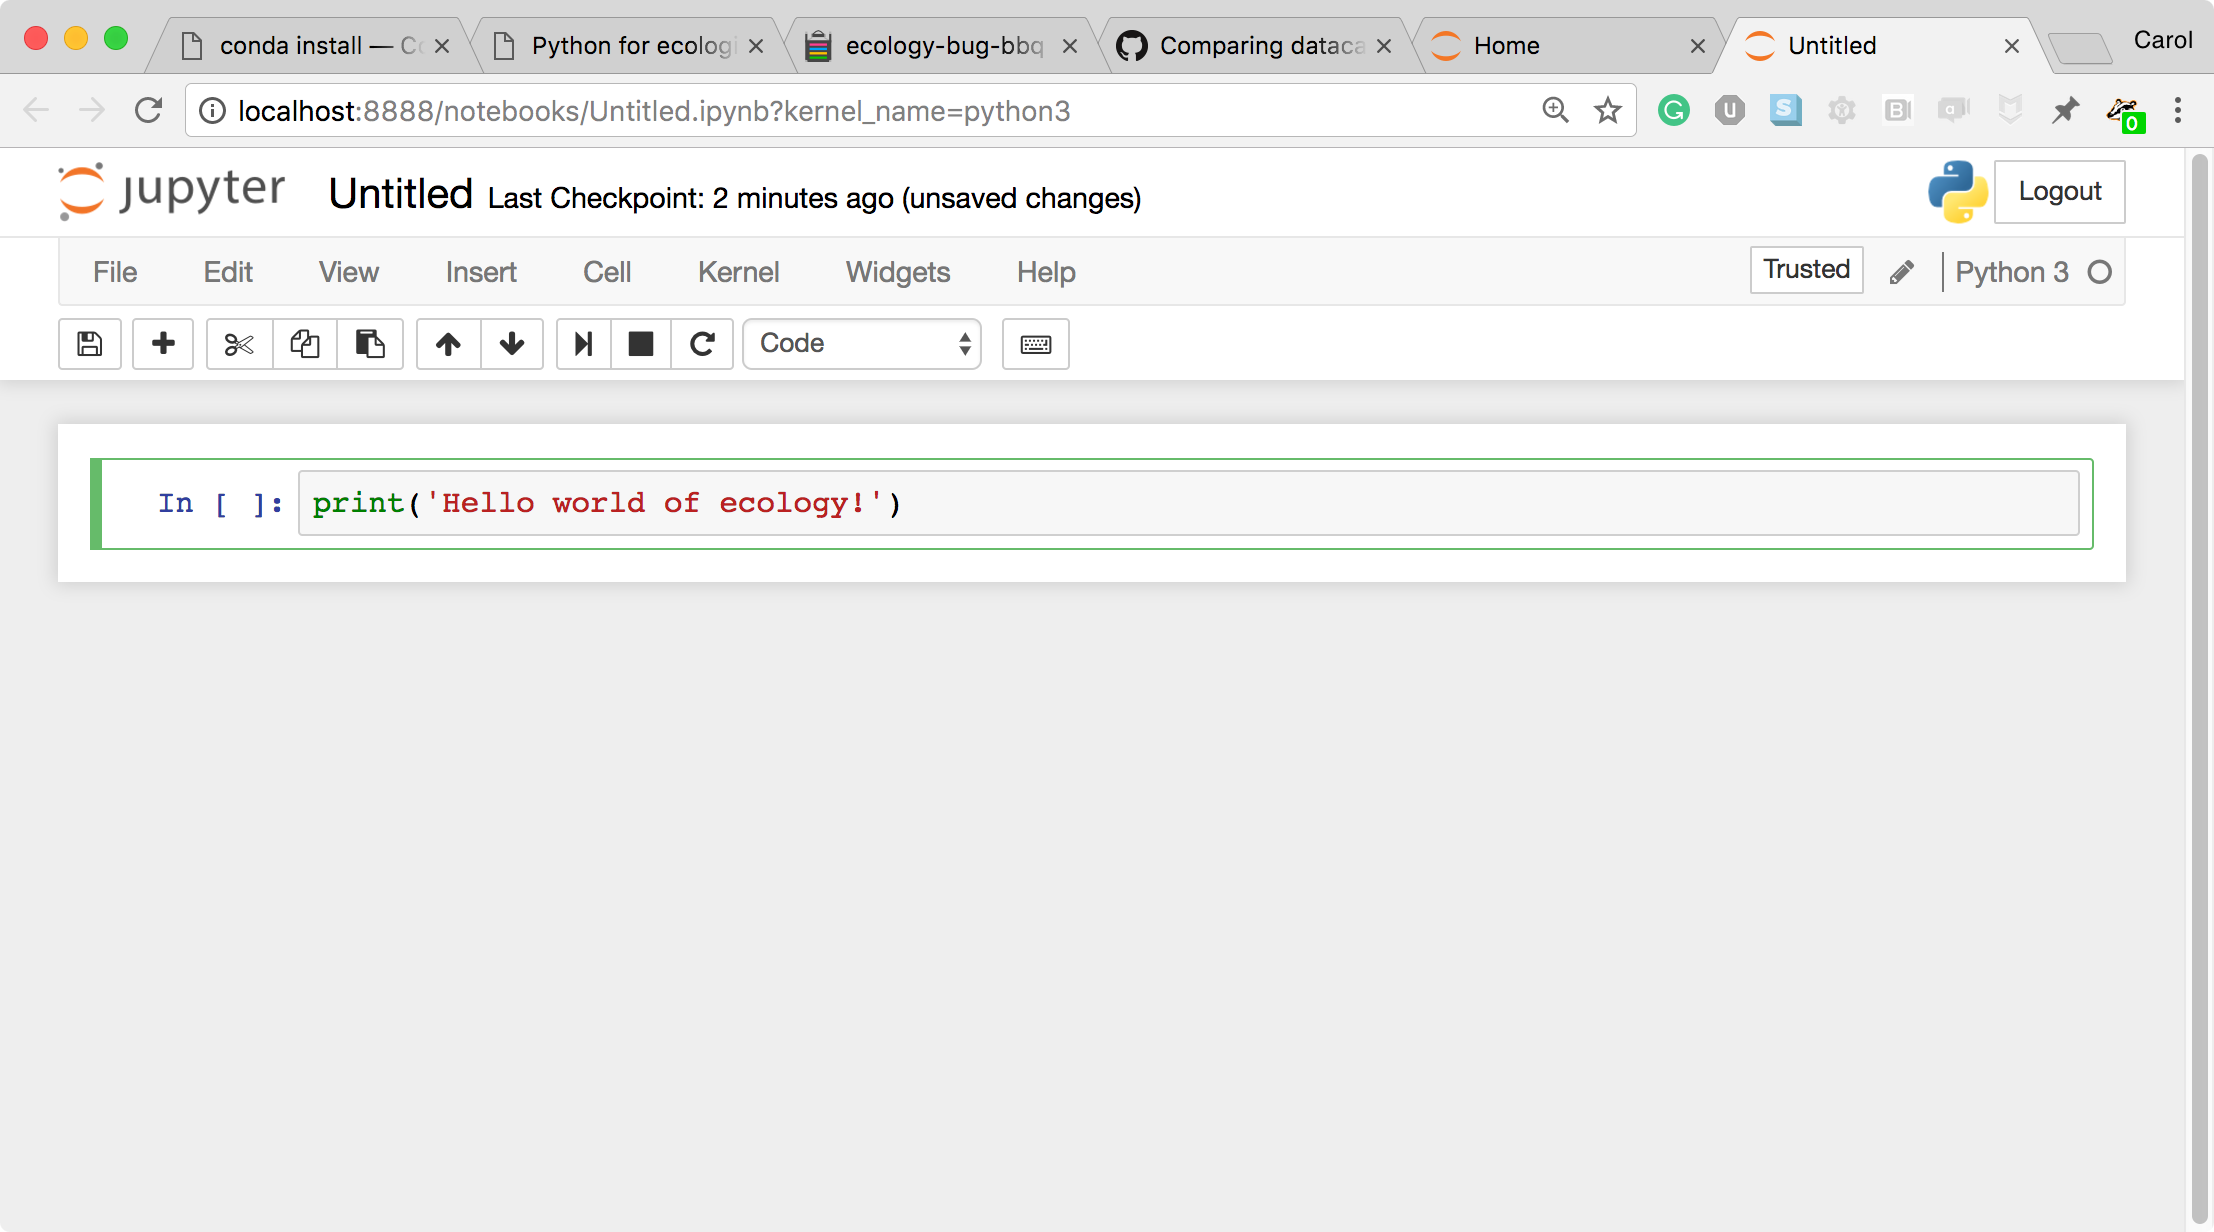 A Code cell
 -
This is a Code cell (see the cell type dropdown with the word Code). To run the cell, type Shift+Return.
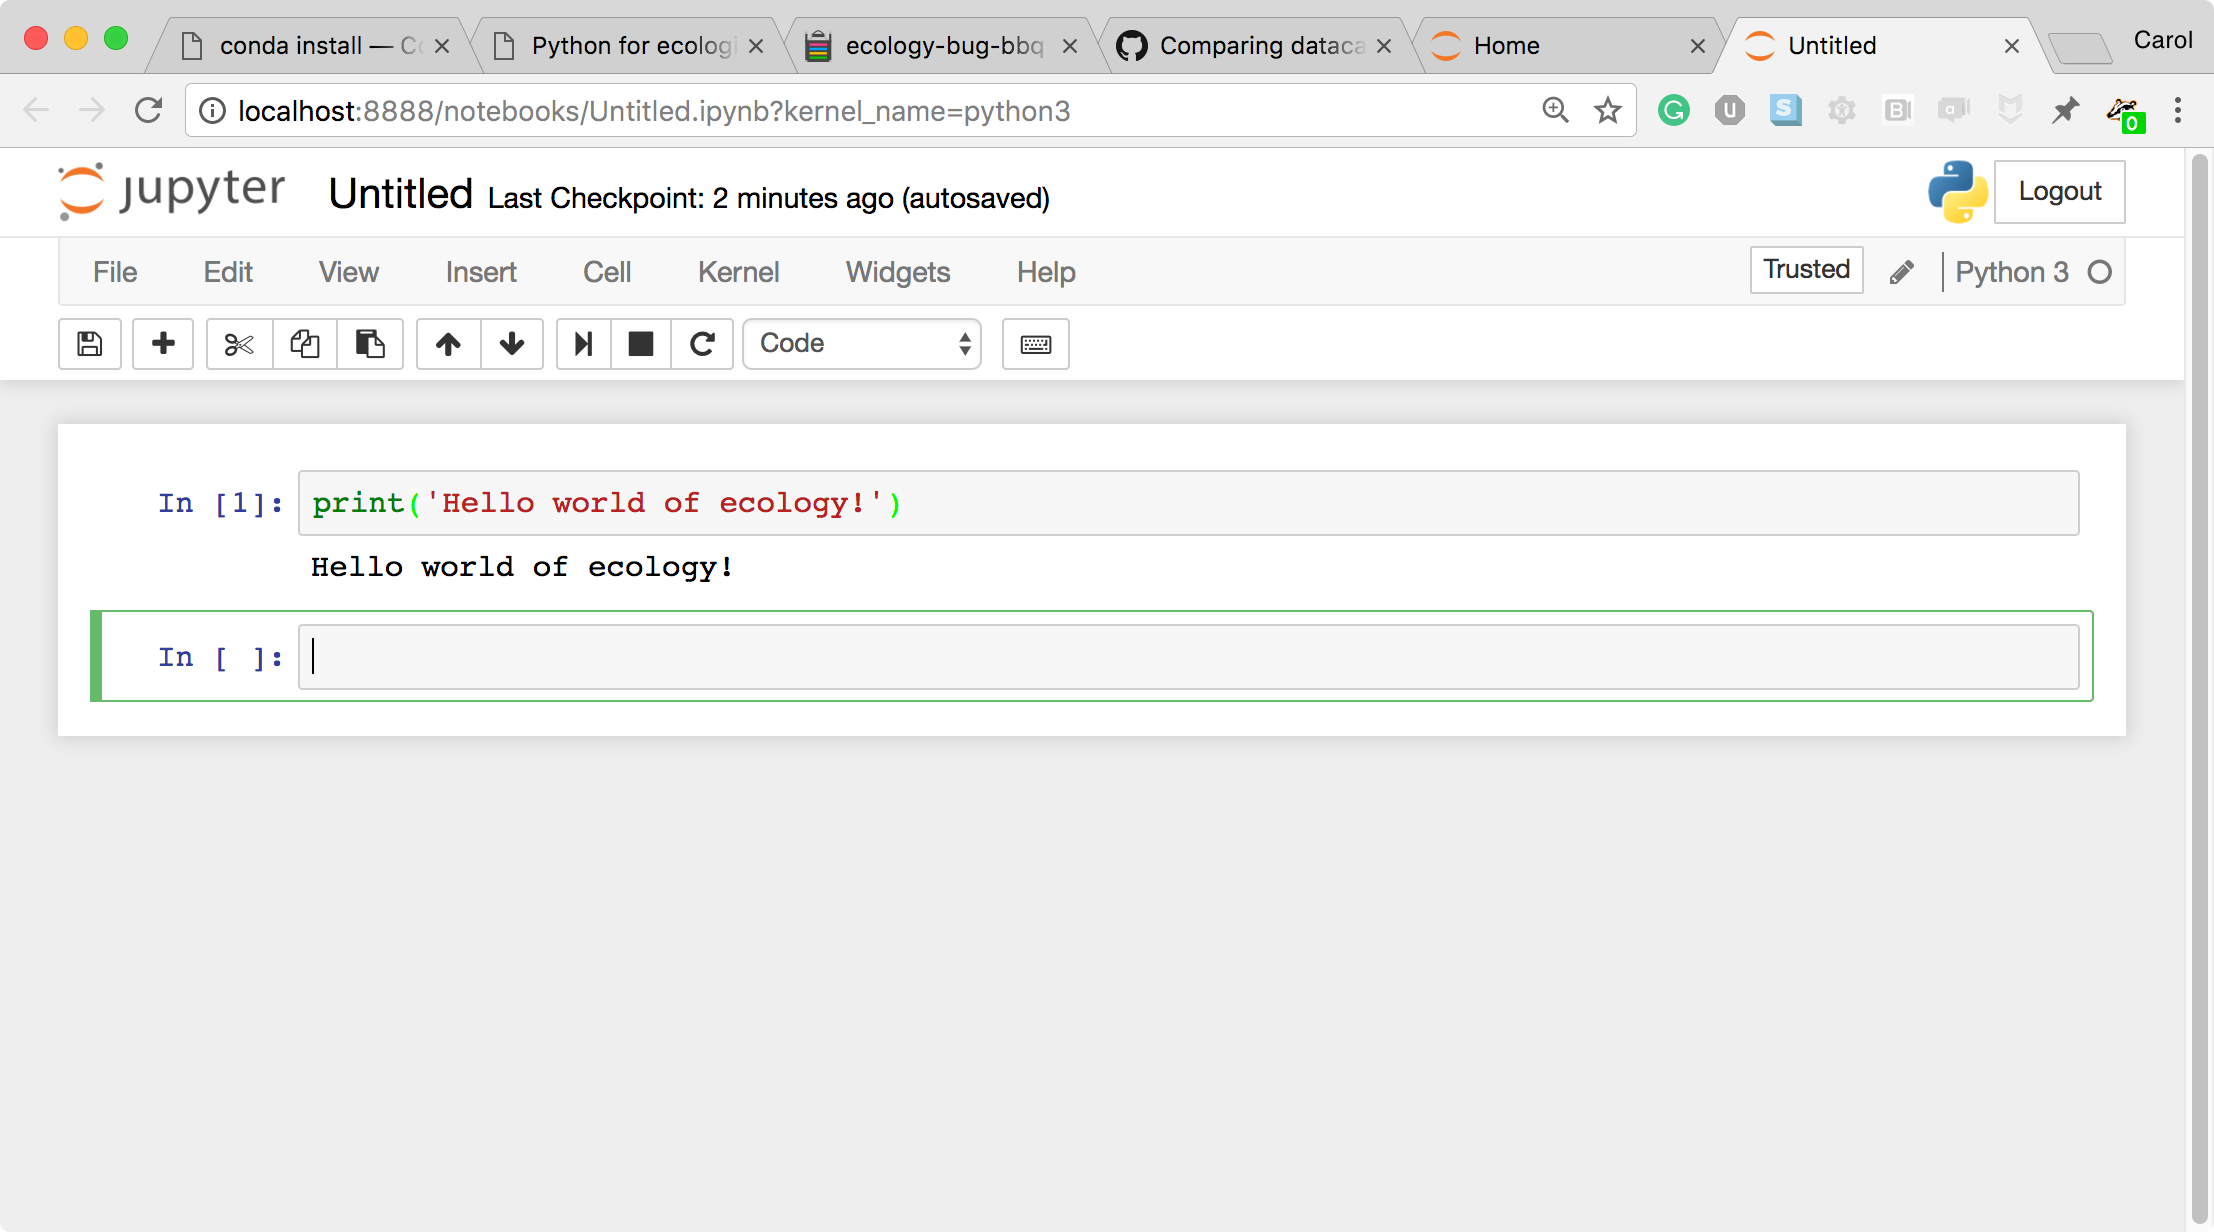 A Code cell and its output
 -
Let’s look at a Markdown cell. Markdown is a text manipulation language that is readable yet offers additional formatting. Don’t forget to select Markdown from the cell type dropdown. Click in the cell and enter the markdown text.
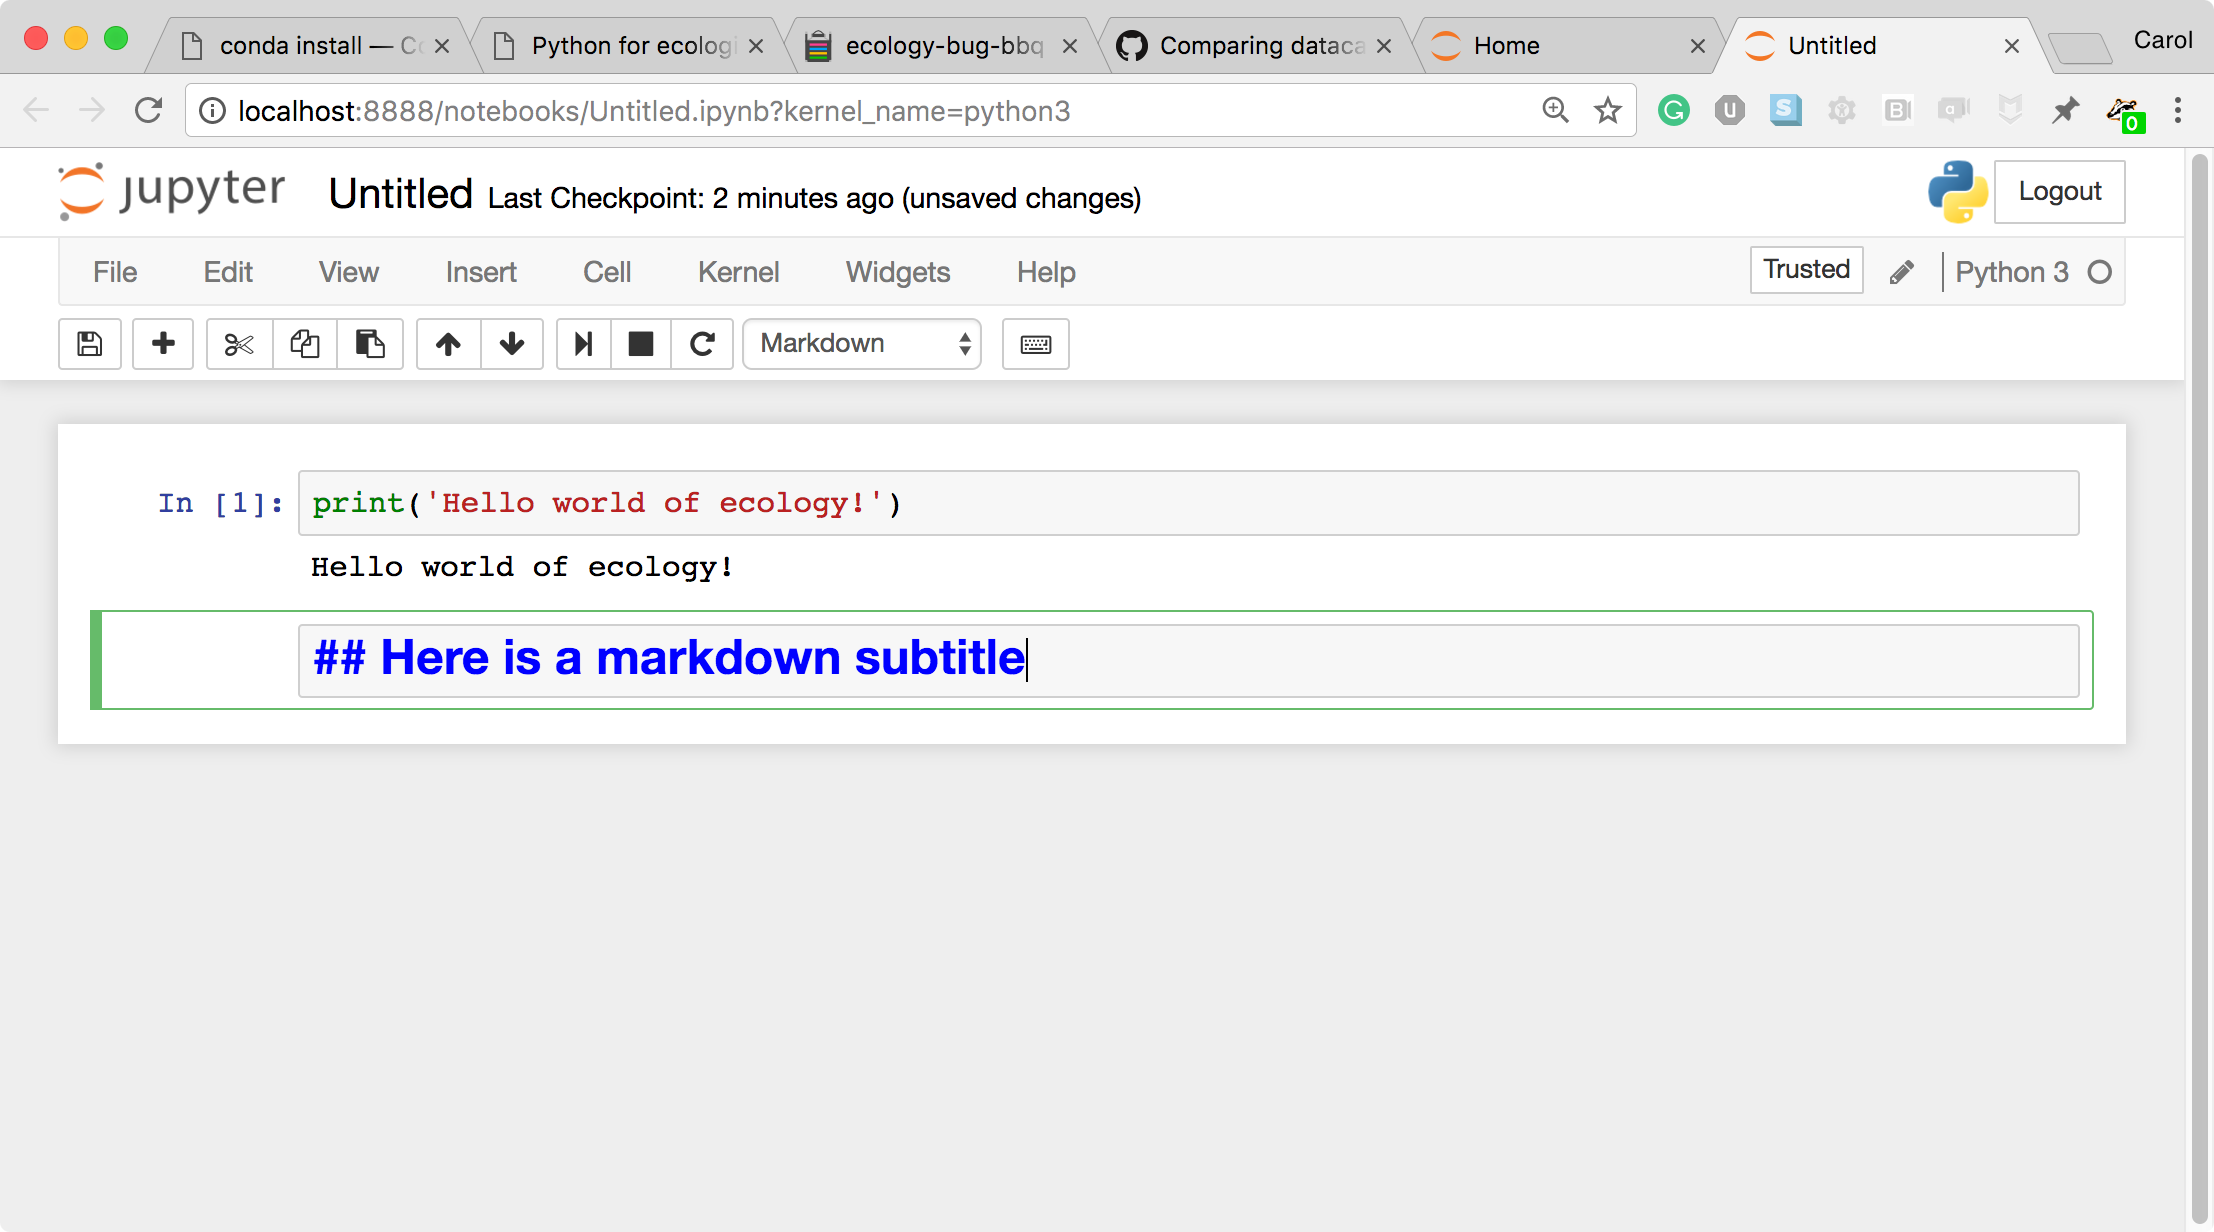 A markdown input cell
 -
To run the cell, type Shift+Return.
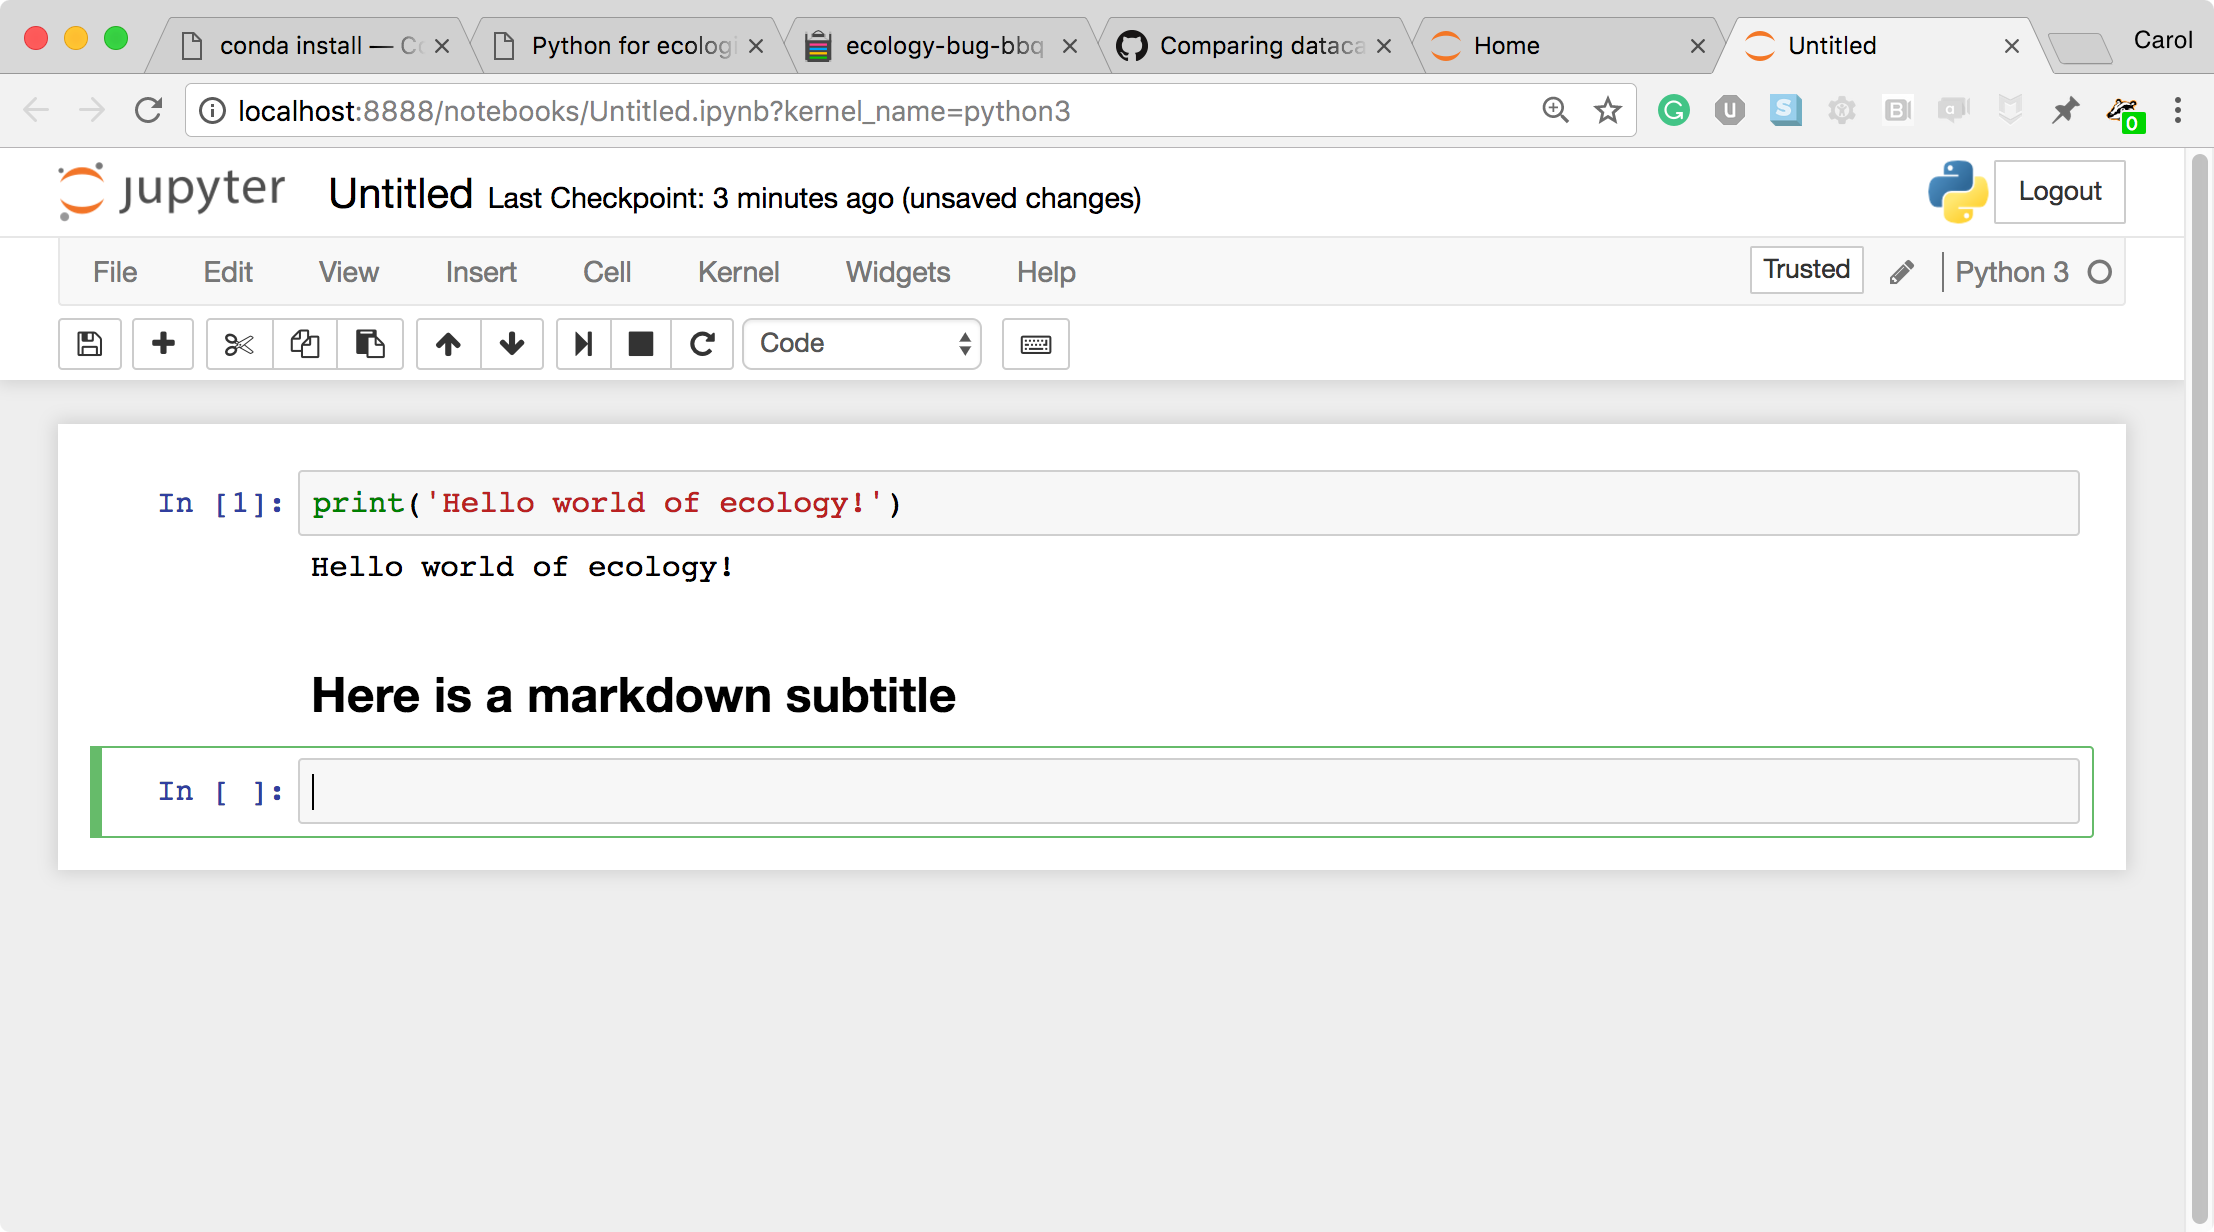 A rendered markdown cell
This workflow has several advantages:
- You can easily type, edit, and copy and paste blocks of code.
- Tab completion allows you to easily access the names of things you are using and learn more about them.
- It allows you to annotate your code with links, different sized text, bullets, etc. to make information more accessible to you and your collaborators.
- It allows you to display figures next to the code that produces them to tell a complete story of the analysis.
How the notebook is stored
- The notebook file is stored in a format called JSON and has the suffix
.ipynb. - Just like HTML for a webpage, what’s saved in a notebook file looks different from what you see in your browser.
- But this format allows Jupyter to mix software (in several languages) with documentation and graphics, all in one file.
Notebook modes: Command and Edit
The notebook has two modes of operation: Command and Edit. Command mode lets you edit notebook level features; while, Edit mode lets you change the contents of a notebook cell. Remember a notebook is made up of a number of cells which can contain code, markdown, html, visualizations, and more.
Help and more information
Use the Help menu and its options when needed.
Acknowledgment
The material for this workshop series was created from the Data Analysis and Visualization in Python for Ecologists curriculum developed by The Data Carpentry Foundation of The Carpentries licensed under CC-BY 4.0